November 29th, 2016
Step by step: Photo booth cardboard creation
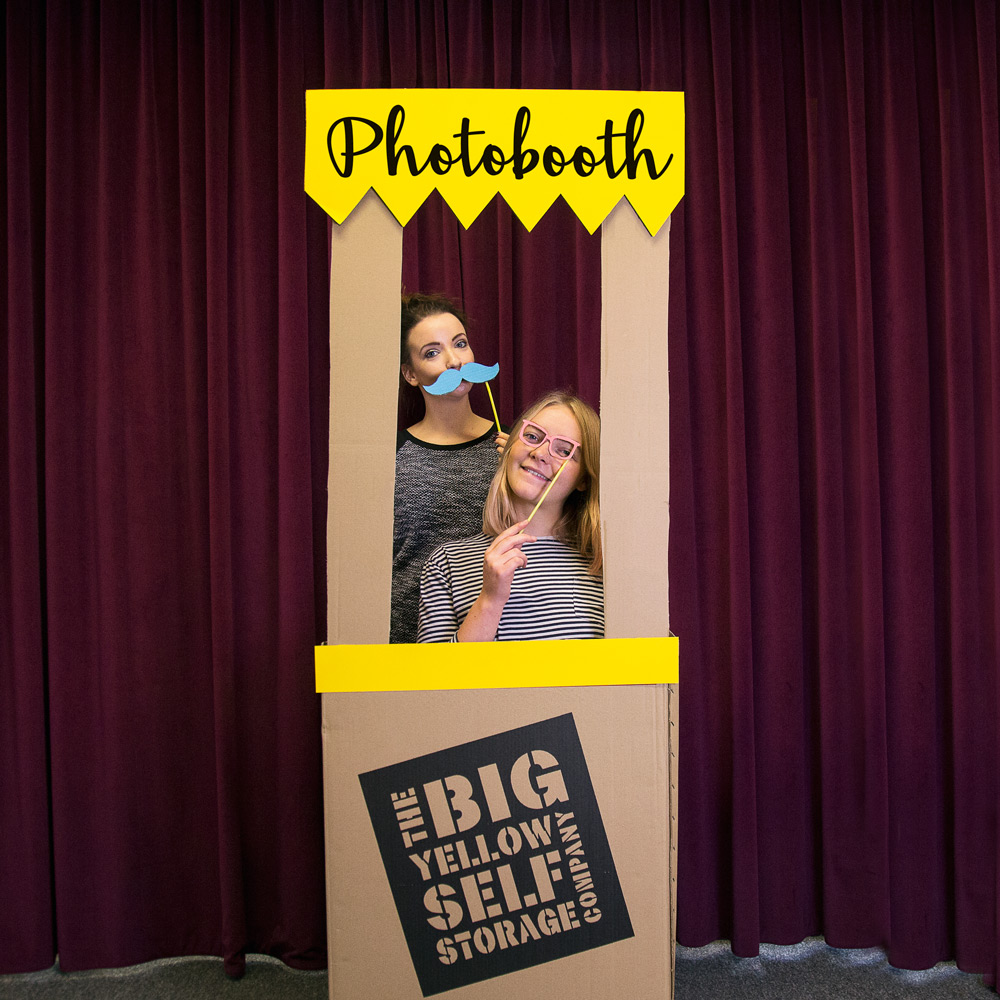
It’s party season! Photo booths have recently boomed in popularity and are now a must-have for any party. Have a look below for our step-by-step tips on how to create your very own booth with a cardboard box. It’s sure to provide endless fun at Christmas parties.
What you will need:
• An extra-large cardboard box
• Additional large piece of cardboard (roughly the same size as one side of your large box)
• Scissors or Stanley knife
• A black marker
• Double sided tape
• Paint in a colour of your choice
NB: Parental supervision required when using Stanley knife or scissors
Step 1
Firstly, cut off the loose flaps from the top of the box, as shown in the image below, as well as one side of the box, which will be where you stand when the photo is taken.
Step 2
Using an additional piece of cardboard, cut two long rectangles that will act as the frame. Vertically attach these to the inside of your main box using tape or glue.
Step 3
The two vertical pieces will be connected by a horizontal piece of cardboard, completing the rectangular frame. Using your leftover cardboard, cut the length you need (a shape or pattern is optional) and attach using the double sided tape.
Step 4
Now it’s the fun bit – decorating! Using paint and black marker, decorate your photo booth however you please to add some additional fun and colour into your photos.