July 6th, 2016
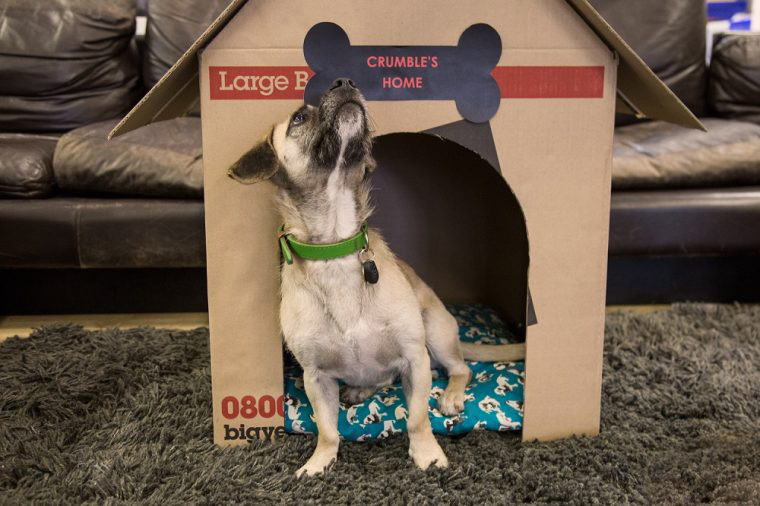
Cardboard Creations: Dog Kennel
Next in our series of cardboard creation inspirations is a home for man’s best friend: a dog kennel.
This could be a great activity to keep kids occupied - you can let them decorate it however they choose and then use it as a play toy for the rest of the afternoon.
Or you could use it as an actual indoor dog house…
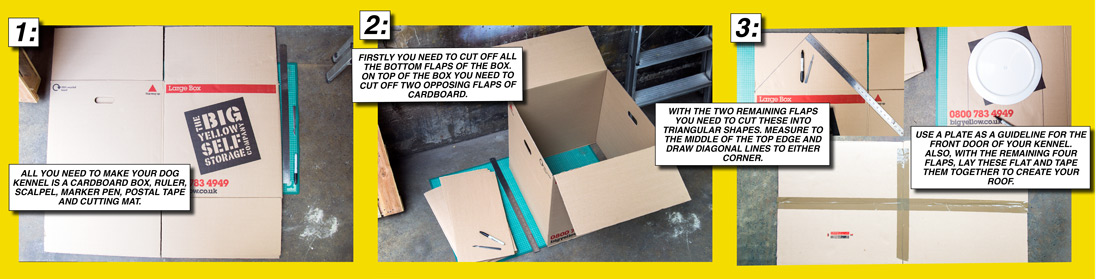
Step 1 - what you will need:
• Large cardboard box
• Ruler
• Stanley knife
• Marker pen
• Postal tape
• Double-sided sticky tape
• A safe place to cut with the knife
NB: Parental supervision required when using a Stanley knife
Step 2
Carefully cut off the four flaps from the bottom of the box followed by two of the flaps on the top, ensuring you leave two opposite each other.
Step 3
You then need to cut the two remaining flaps into a triangular shape. To do this, find the centre of each flap and draw a line diagonally down each. Use the Stanley knife or a pair of scissors to cut along the line.
The door comes next – you can use a plate as a guideline for the top of the opening. At this stage, lay the four remaining flaps flat in a rectangle shape and stick together. This will be your roof.
Step 4
You then need to measure the distance between the top of the two triangles. Using these measurements, cut one long strip of cardboard that will act as the support to your roof. Make slots in each triangle so the strip can sit in the roof.
Step 5
Place the roof on top of the kennel, and secure it with double-sided sticky tape.
Step 6
….and voila! Your dog kennel is complete. You can decorate it with a bone-shaped name tag and colour it however you like.
